Hello Magnolia - HA CLI
Create a new headless project using Magnolia Headless Accelerator!
Make sure to install and set up everything needed. Go to the Installation section to read more about the requirements for running HA CLI.
info
A Magnolia DX Core license is needed to start up a project with Magnolia HA.
Jumpstart the project#
To jumpstart the project with Headless Accelerator, create a new empty directory, navigate there, and execute:
ha jumpstartHA CLI asks for the Nexus credentials during the jumpstart. This step is necessary for the initial Magnolia DX Core installation.
HA CLI jumpstarts the latest version of Magnolia.
info
To run a specific Magnolia version, use ha jumpstart -m <magnolia-version>.
Nexus token credentials#
Magnolia webapps are downloaded from nexus.magnolia-cms.com.
For those that require a license, you must supply your Nexus token credentials instead of your SSO credentials.
The HA CLI will notify you about this with the following warning message before a prompt for the credentials appears:
To download from Nexus, please use your "user token name code" as the Magnolia Nexus Usernameand your "user token pass code" as the Magnolia Nexus Password, instead of your SSO login credentials.To obtain the token credentials:
- Log into Nexus with your SSO credentials.
- In the top right corner, go to your profile settings.
- Select User Token in the menu on the left side.
- On the User Token page, click the Access User Token button.
(You may now be prompted to log in again.) - Your token name and pass codes are displayed.
Then, when the Jumpstart plugin prompts you for the credentials:
- Use your user token name code from Nexus as the Magnolia Nexus Username.
- Use your user token pass code from Nexus as the Magnolia Nexus Password.
Choose a starter template#
Choose what kind of project you want to jumpstart.
info
A project template can have a predefined preferred version of Magnolia. The user is notified about jumpstarting a specific Magnolia version during the jumpstart.
To override the predefined version, use ha jumpstart -m <magnolia-version>.
We are going to select the react template in this example.
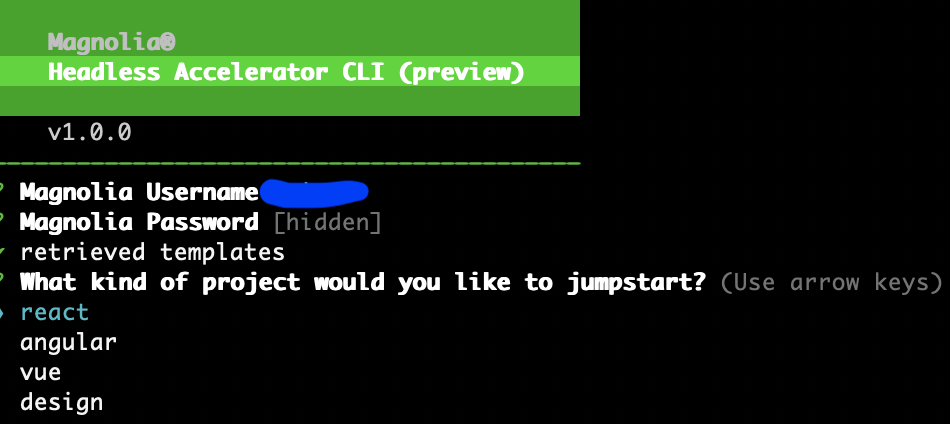
In the following step we are going to select the next.js framework.

Install Magnolia with Headless Accelerator#
Name the project you are about to jumpstart. HA CLI downloads Magnolia and creates the react/next.js application.
See the newly created files and folders in the root directory using the ls -la command. The first folder to notice is the .mgnljumpstart/ folder, which contains a pre-configured Magnolia DX Core instance with all the required extra modules and configurations needed to get started.
Read more information about various folders in the CLI Overview section of this documentation.
Start up Magnolia and Next.js application#
Start up the Magnolia instance and web application by running the command:
ha devMagnolia HA CLI preview provides an overview of the running Magnolia instance and react/next.js web application. Check this preview when something isn't working as expected.
Read more about the HA CLI dev console in the CLI Overview section of this documentation.
info
Initial Magnolia starting up can take up a little longer.
Once the Magnolia instance starts up, a new tab with the local Magnolia Author instance opens in the browser. You can also navigate to the Magnolia Author on port 8080 yourself.
Enter the Magnolia License key to finish the installation.
Congratulations!
The local Magnolia instance is set up and ready to use.
The new react/next.js application is now running on port 3000.
Explore the web application#
Open the Pages app in the running local Magnolia instance. You can find a bootstrapped demo page there.
info
For detailed explanation of Magnolia features, please refer to the full Magnolia documentation.
Double-clicking on the project name in the Pages app opens the HA Template page in a new tab.
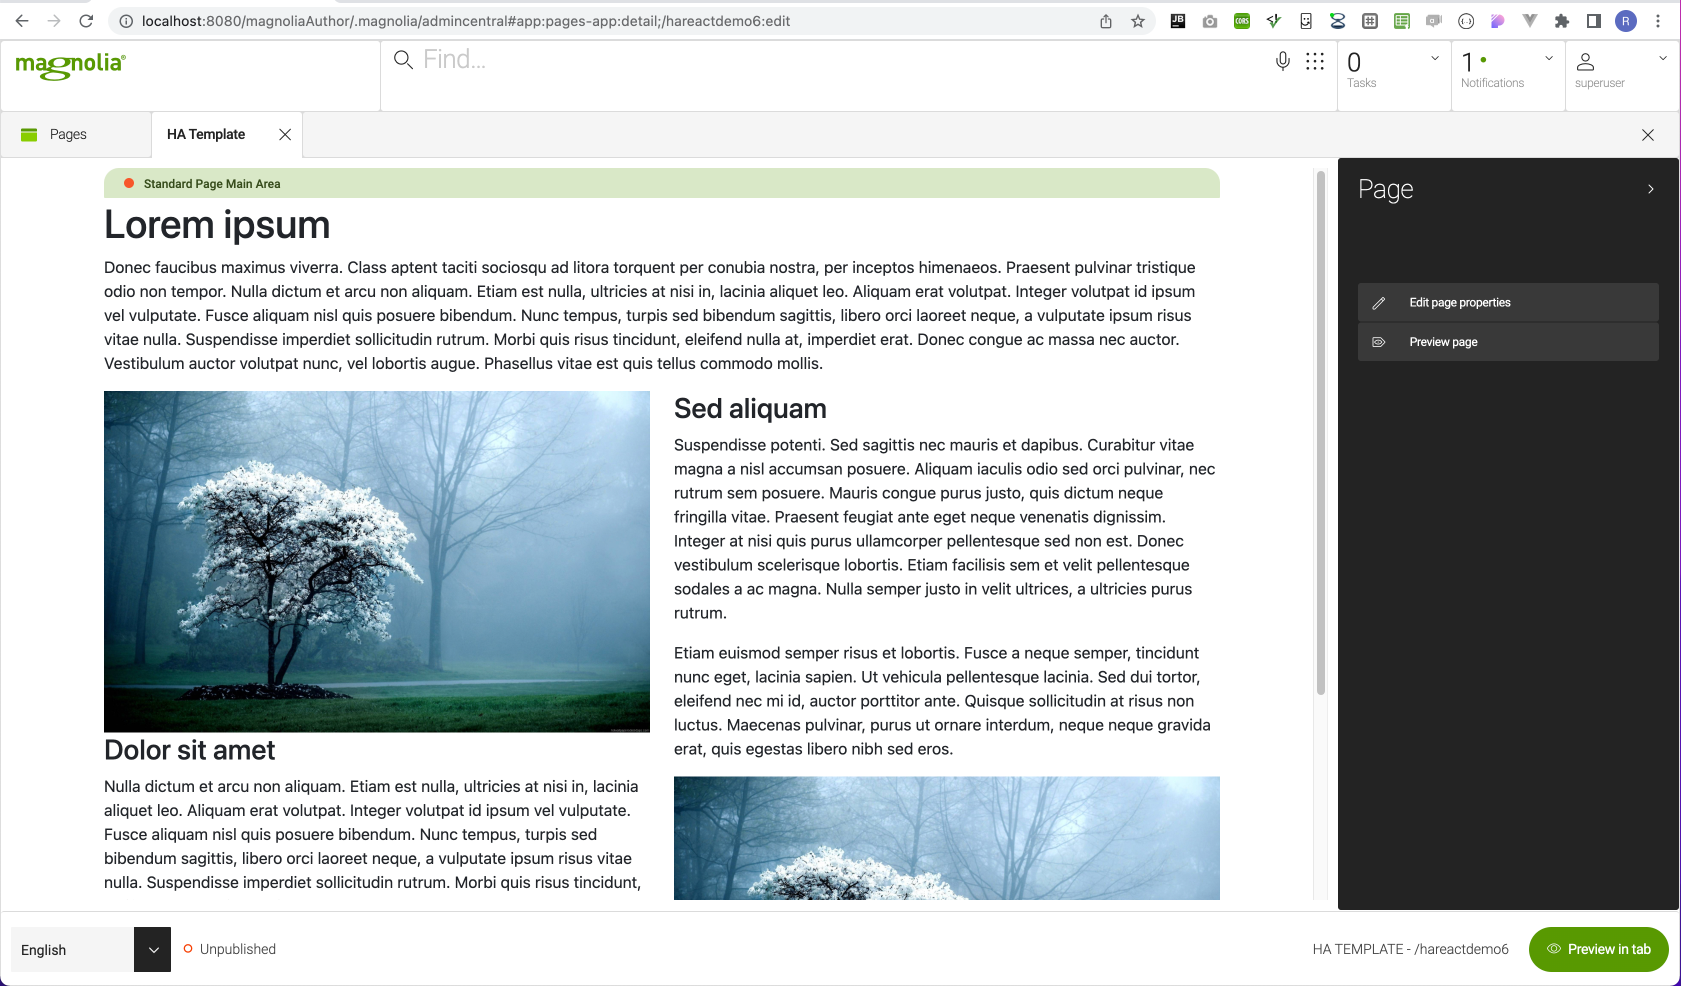
Initial HA Template page consists of several simple components:
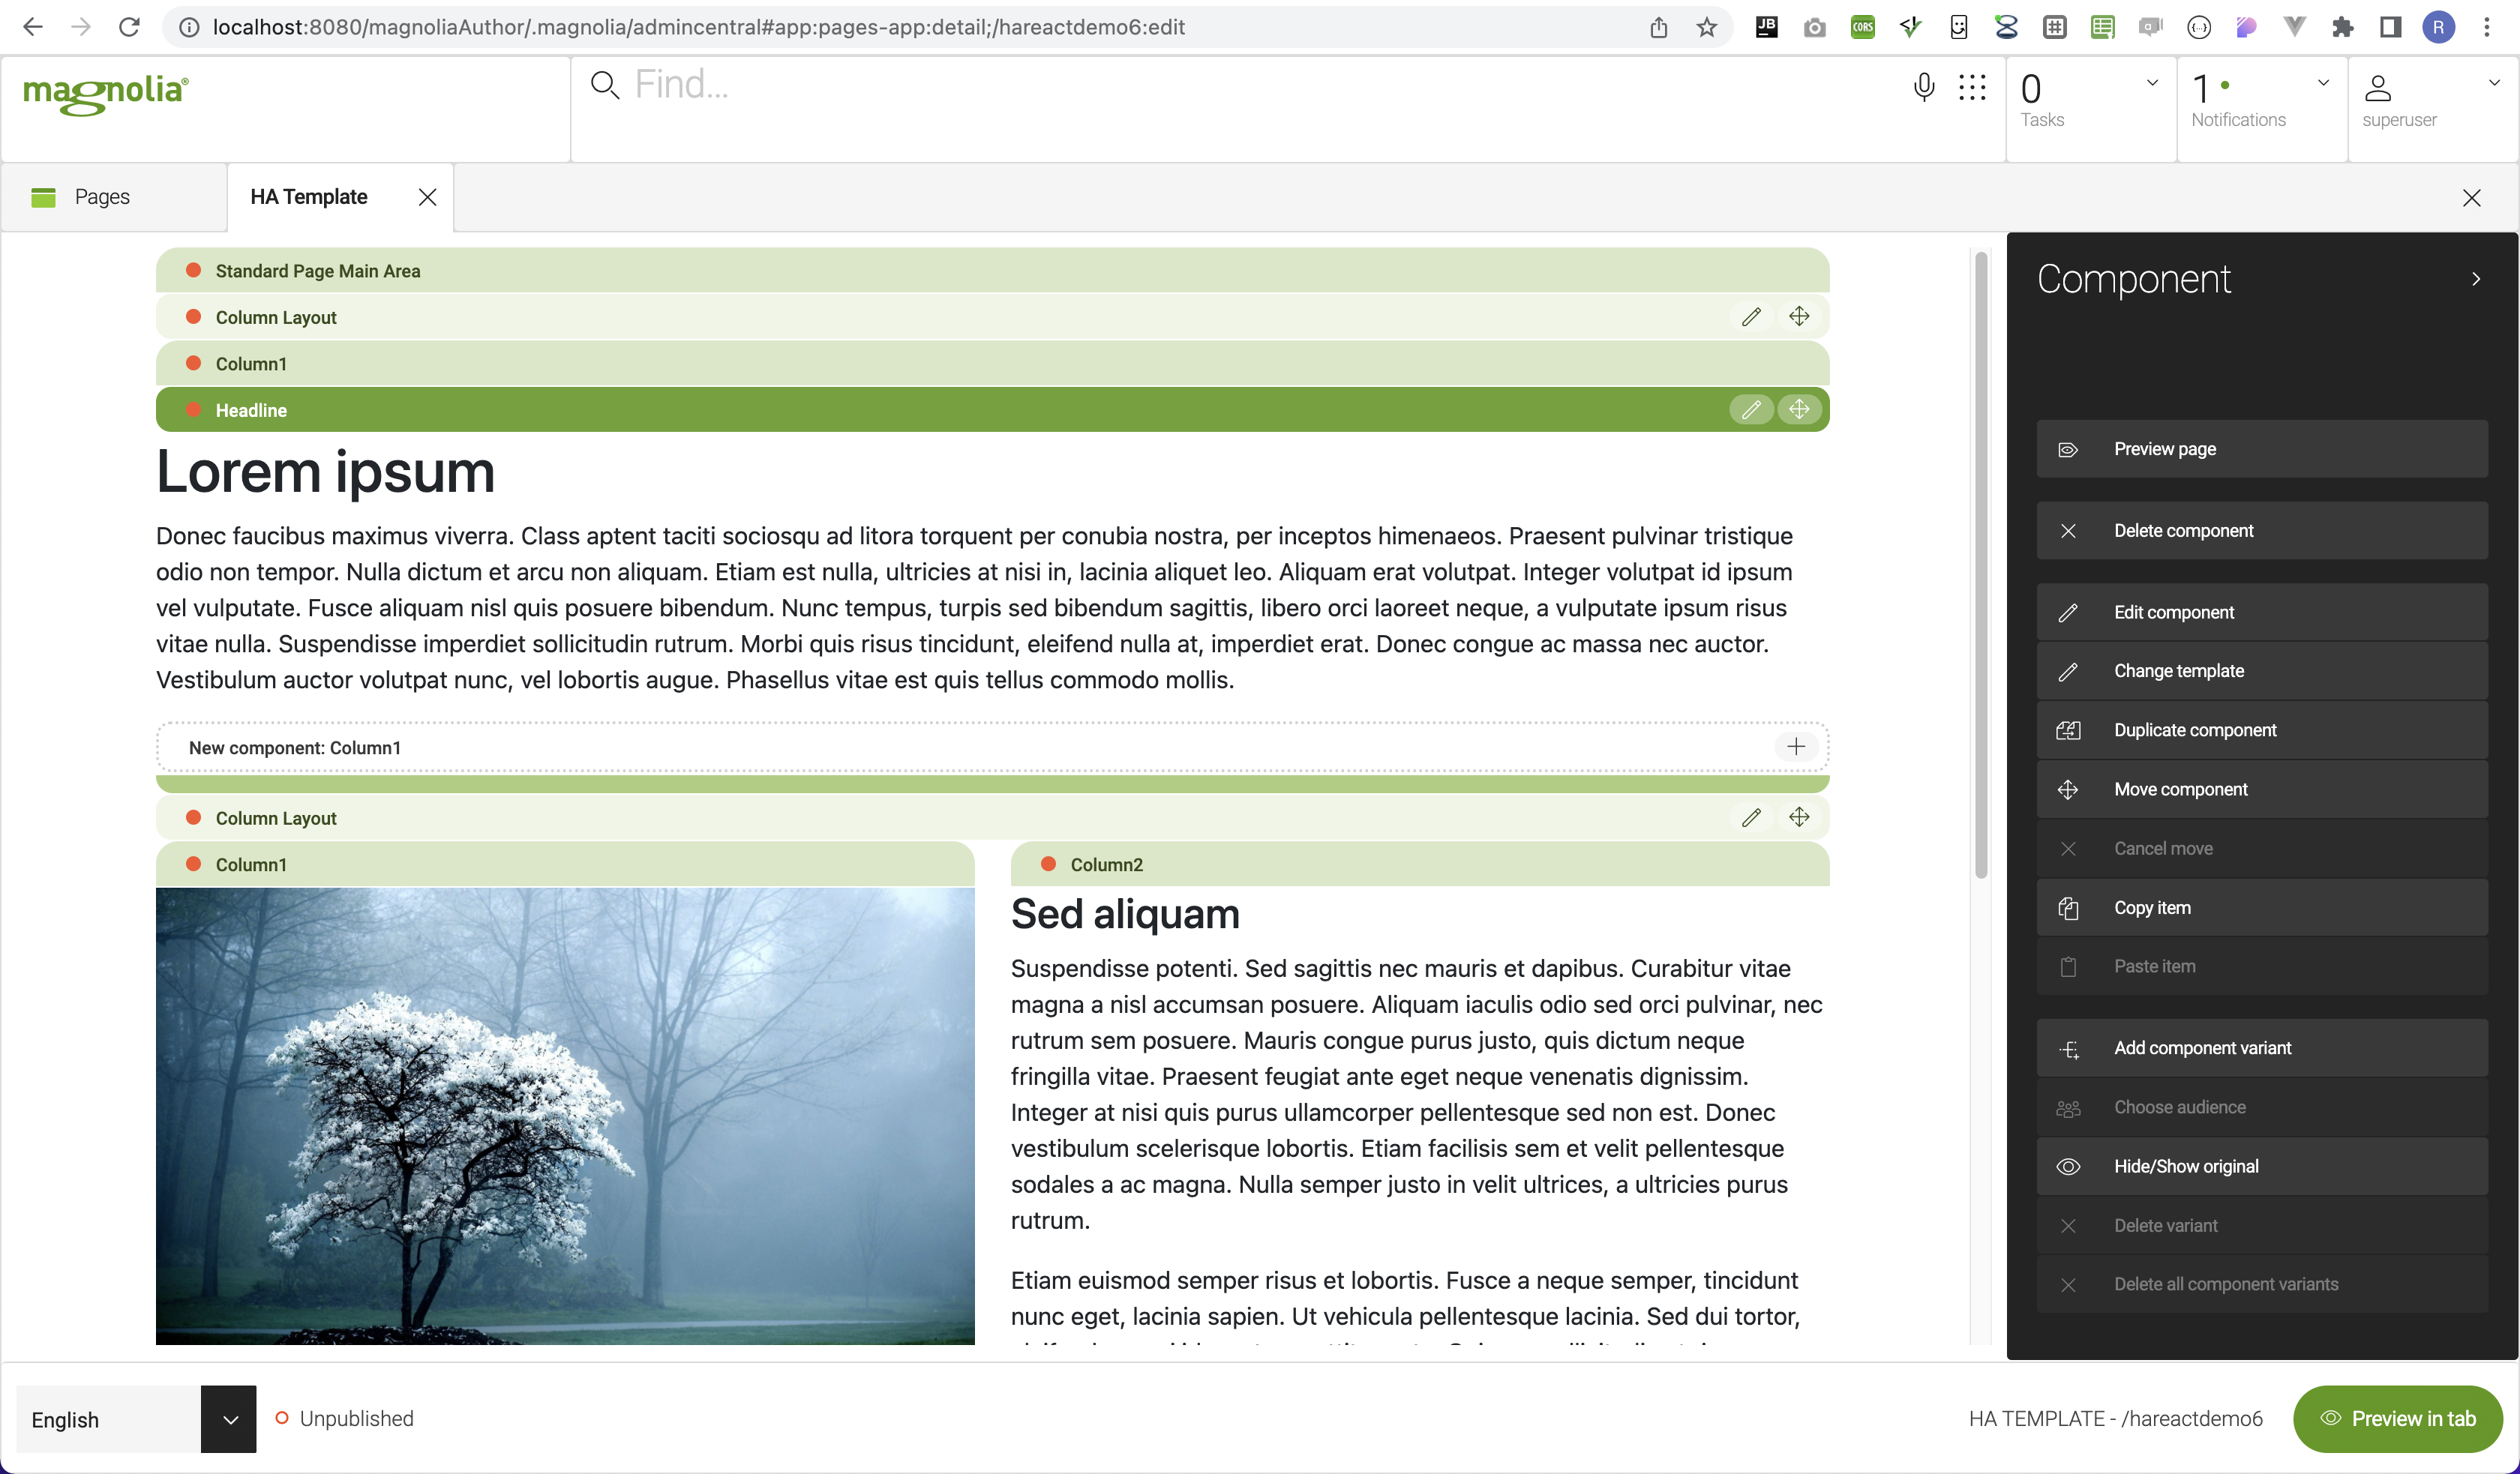
Directly in the HA Template page main area you are able to add Column Layout component. This component defines the number of columns and horizontal space taken by each column. You can define maximum of 4 columns with this component.

In each of the columns you can add Headline component which defines title and short description,
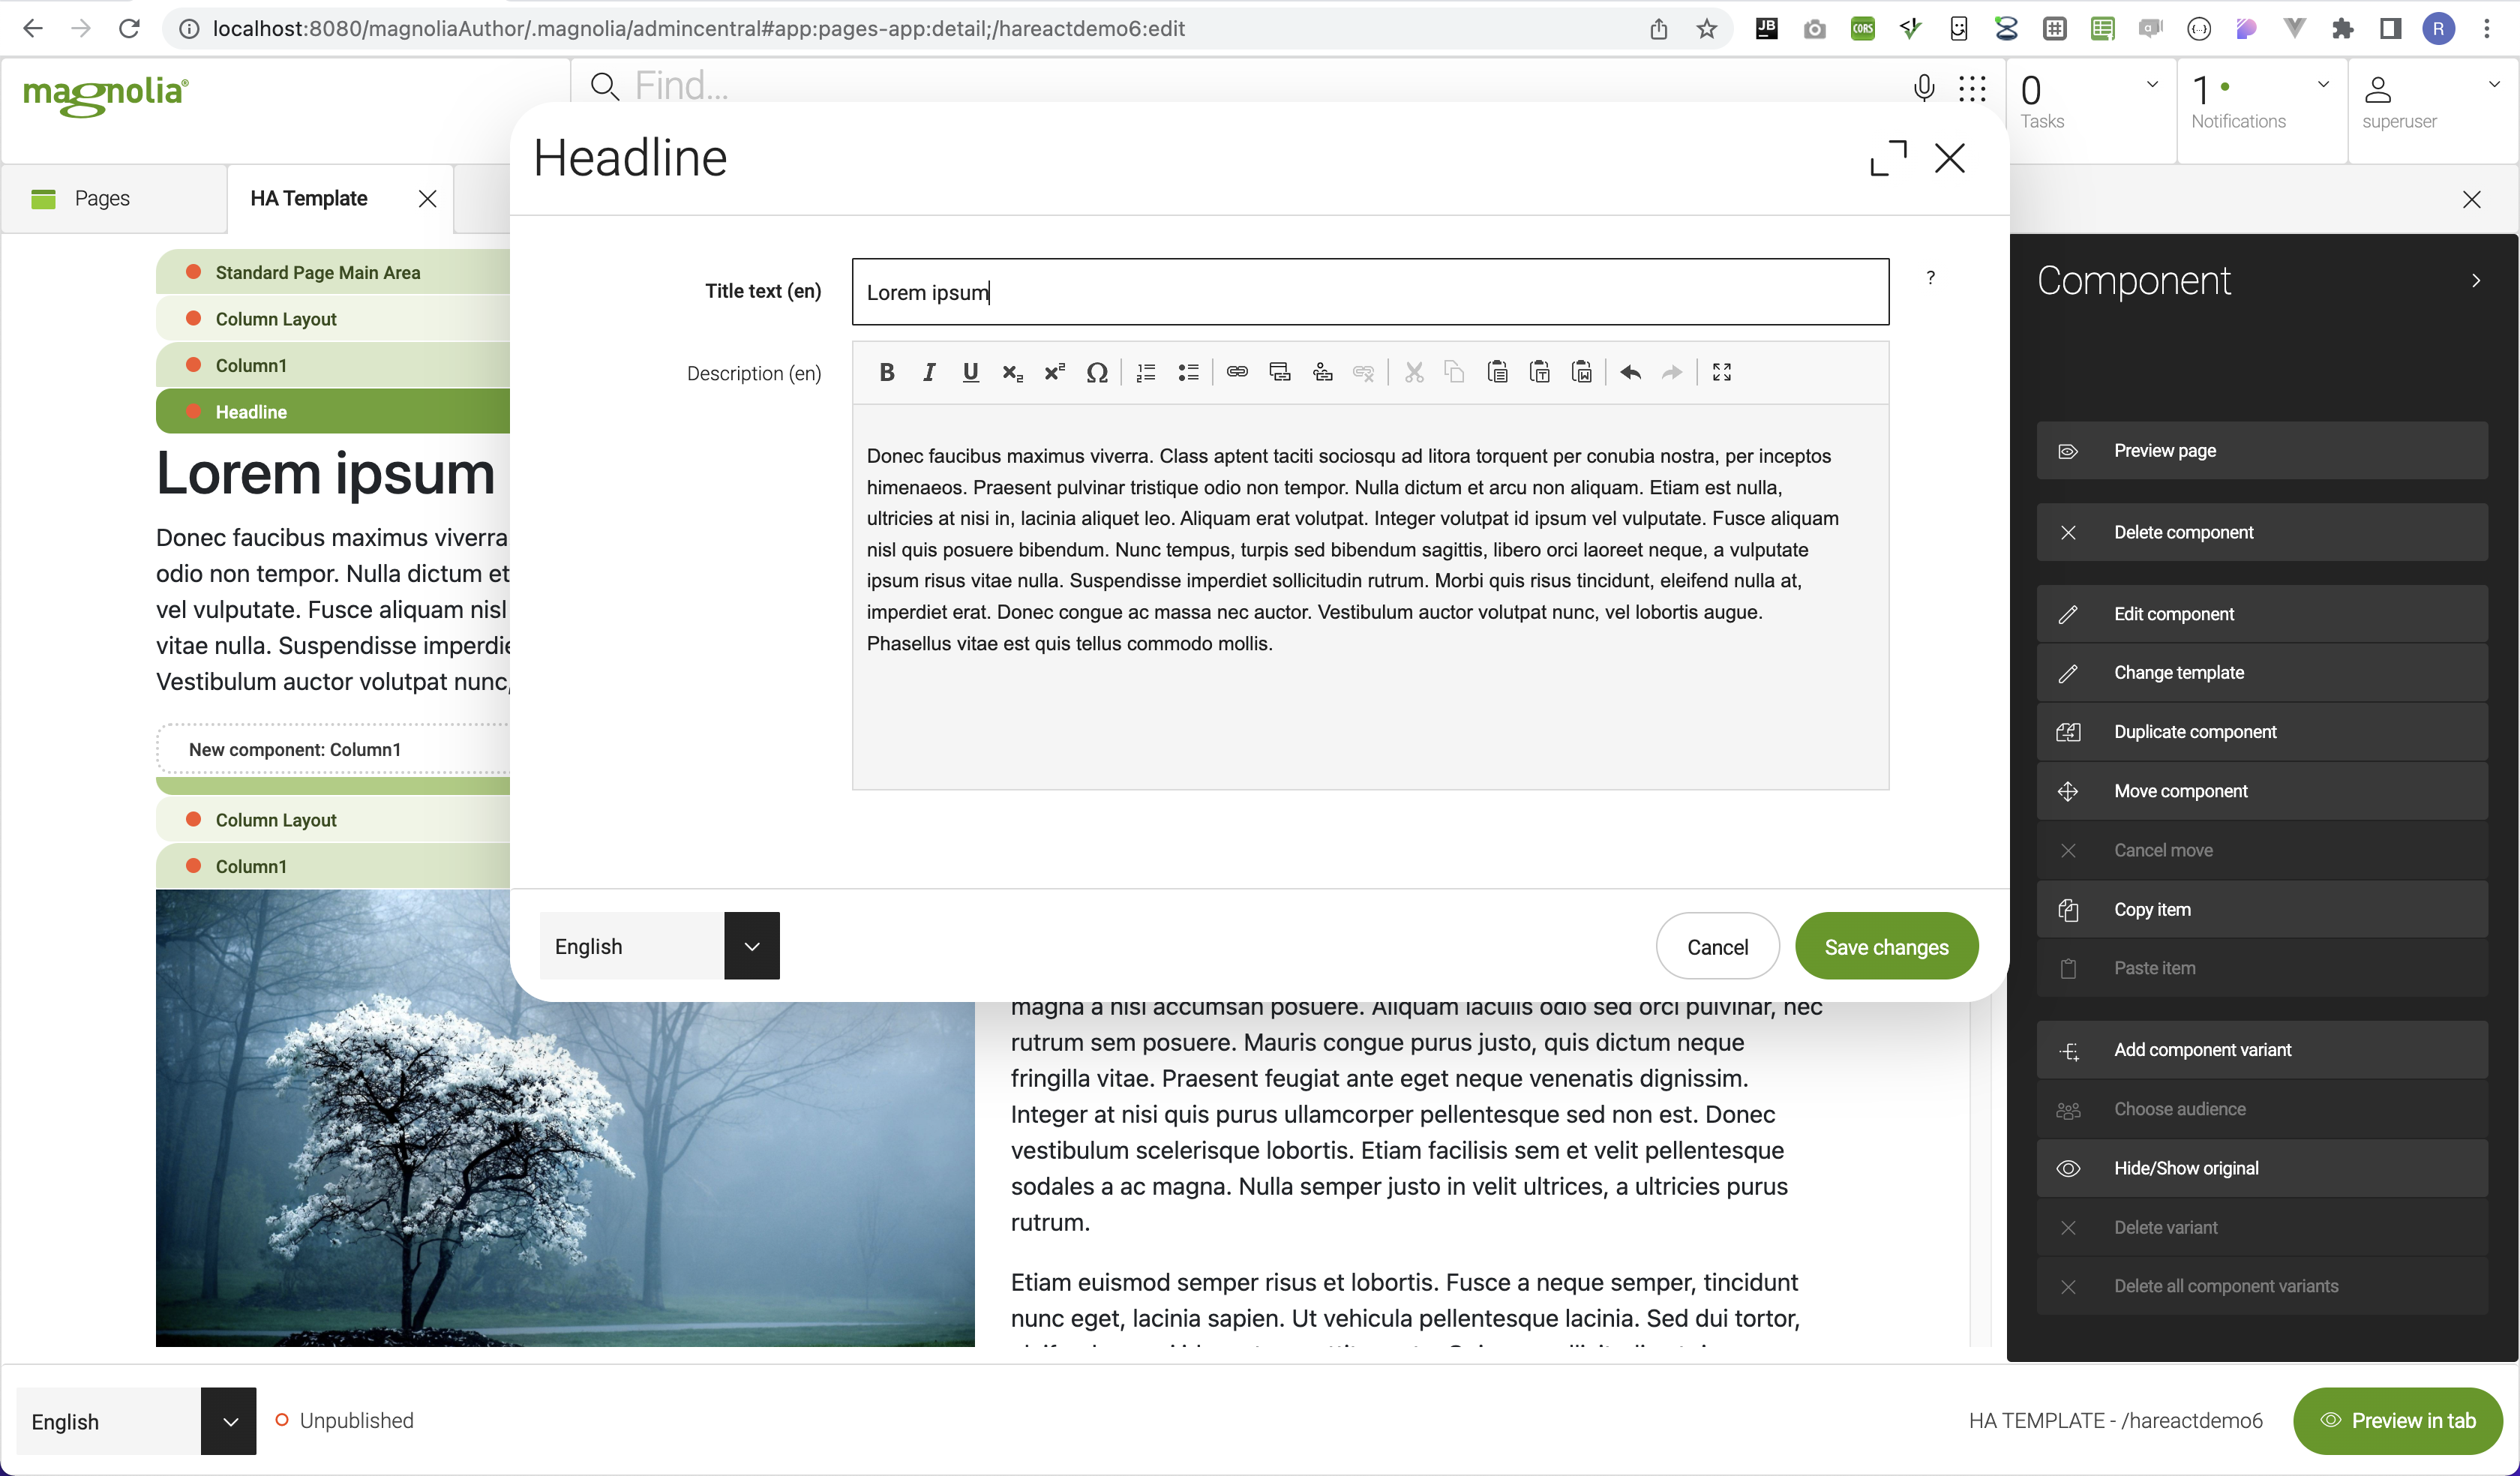
or text and image component which defines title, description, image and image position properties.
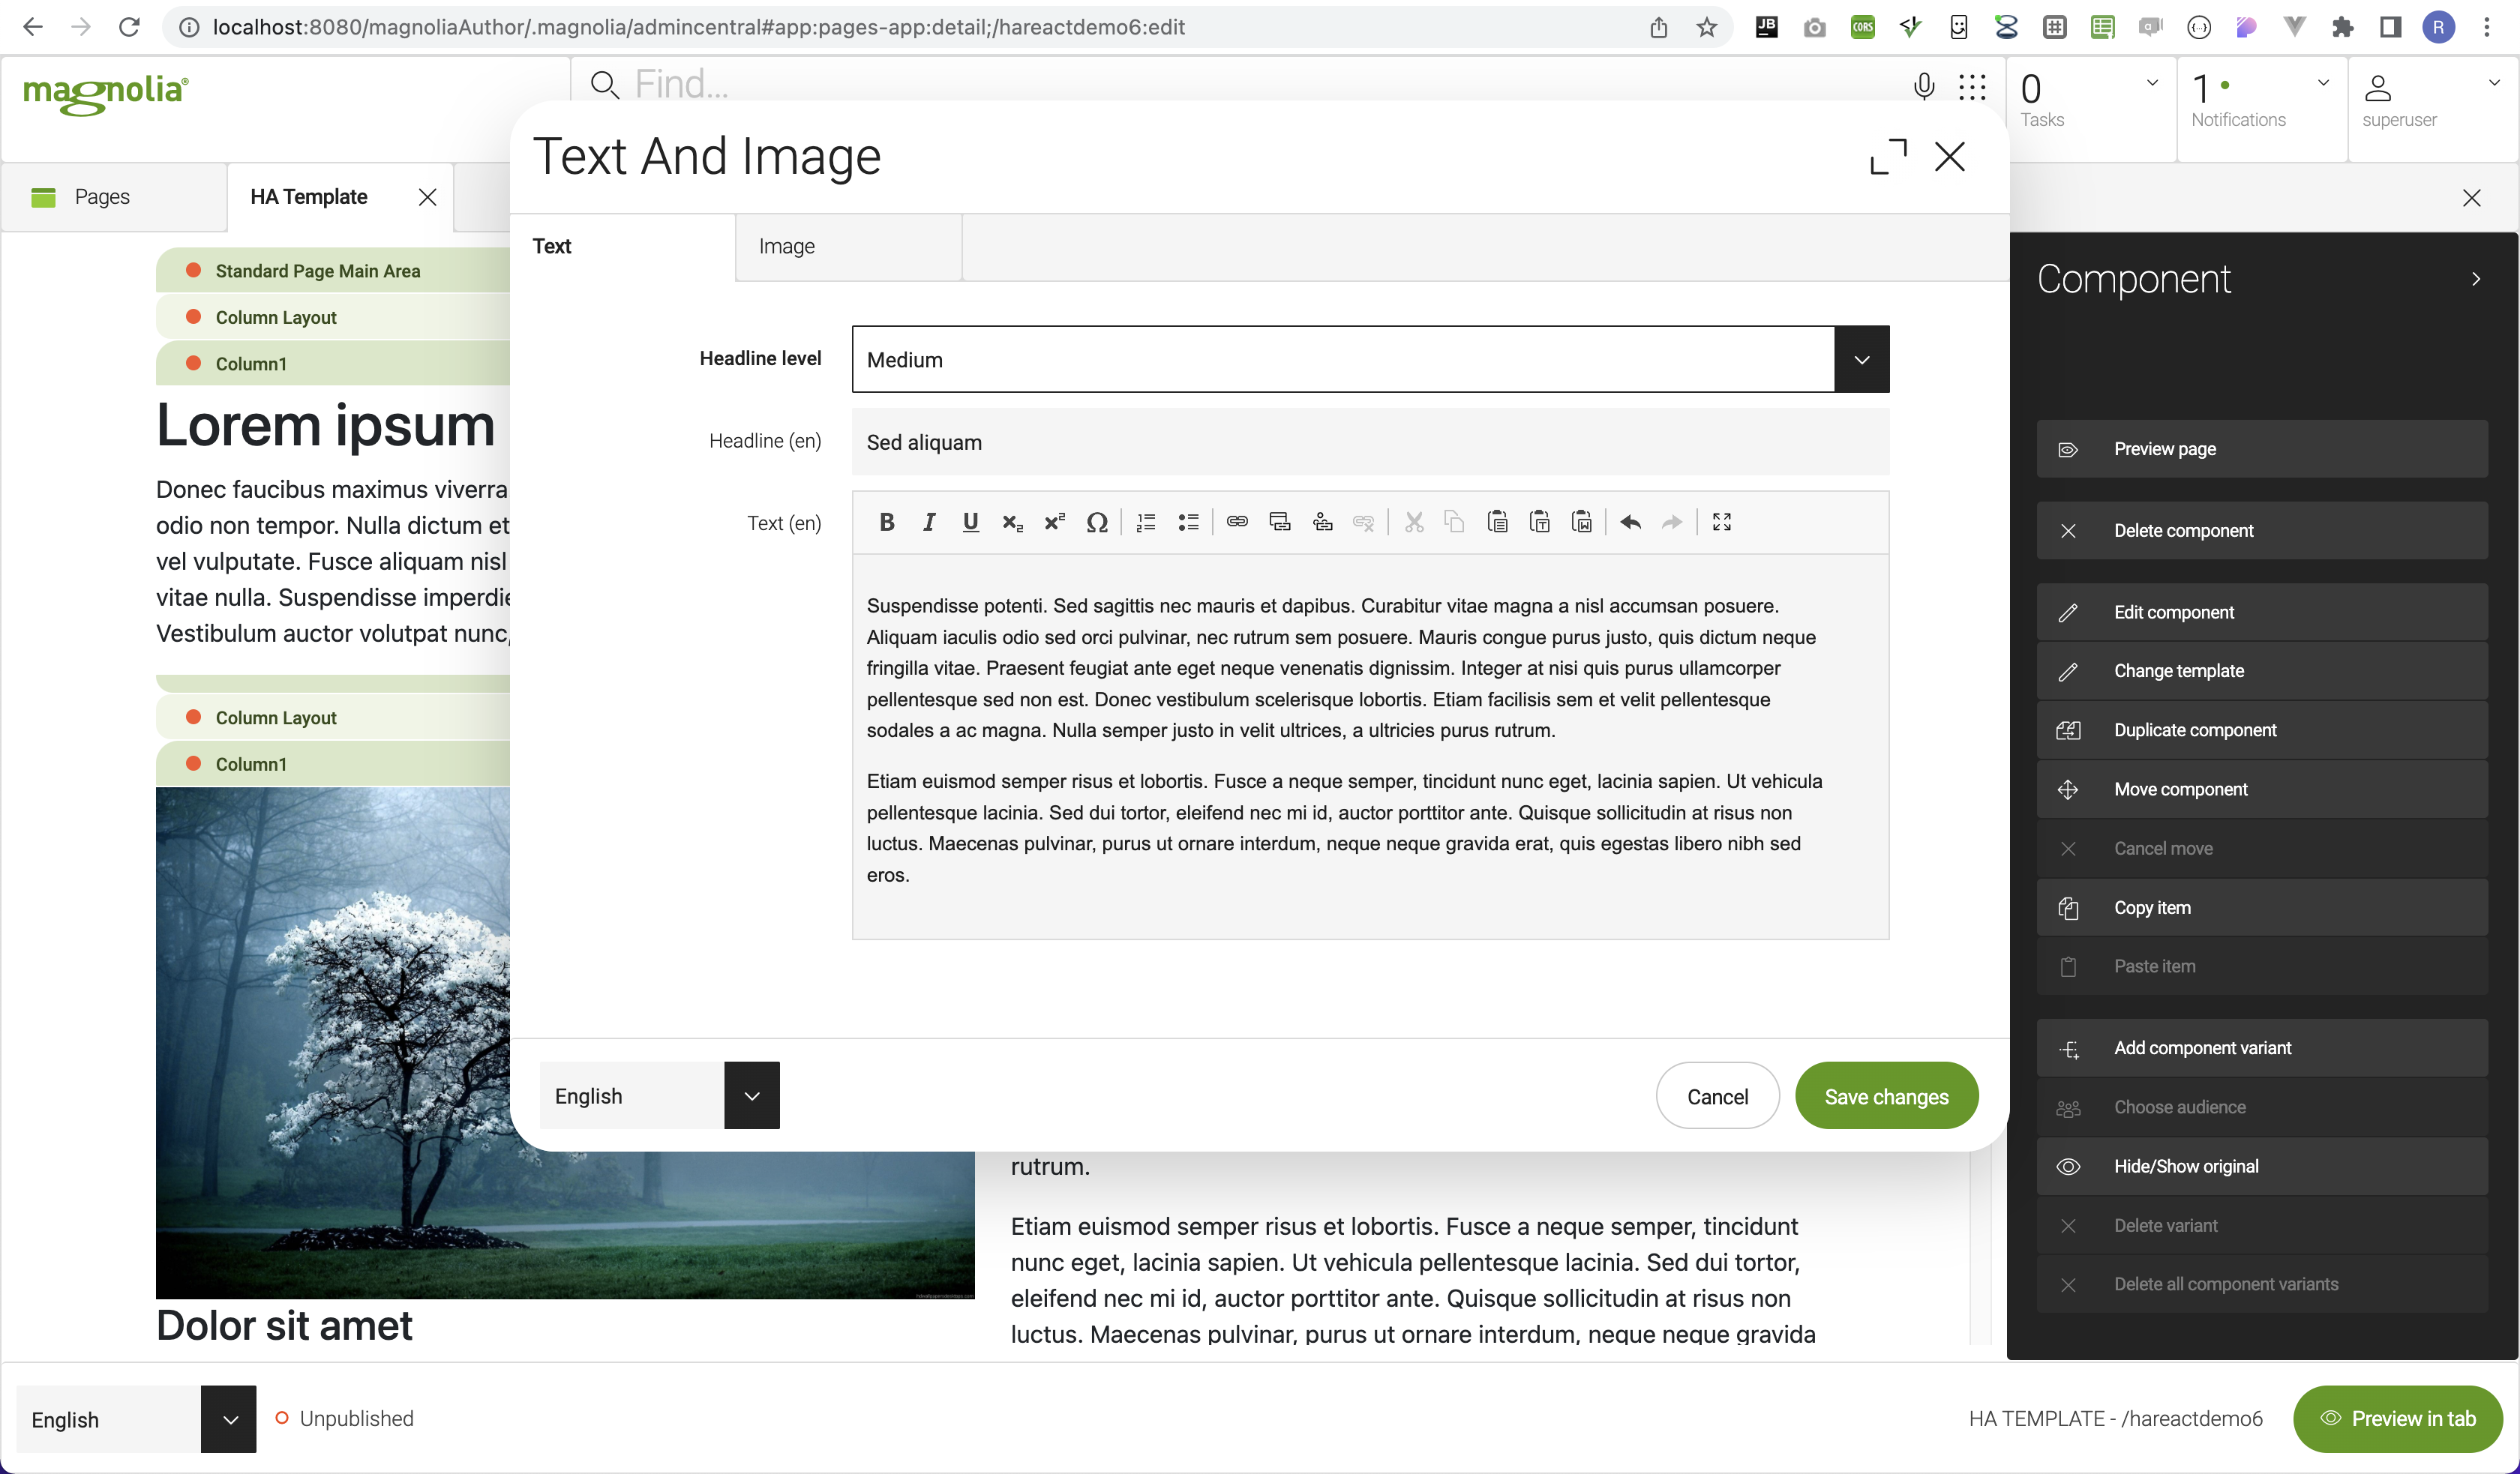 | 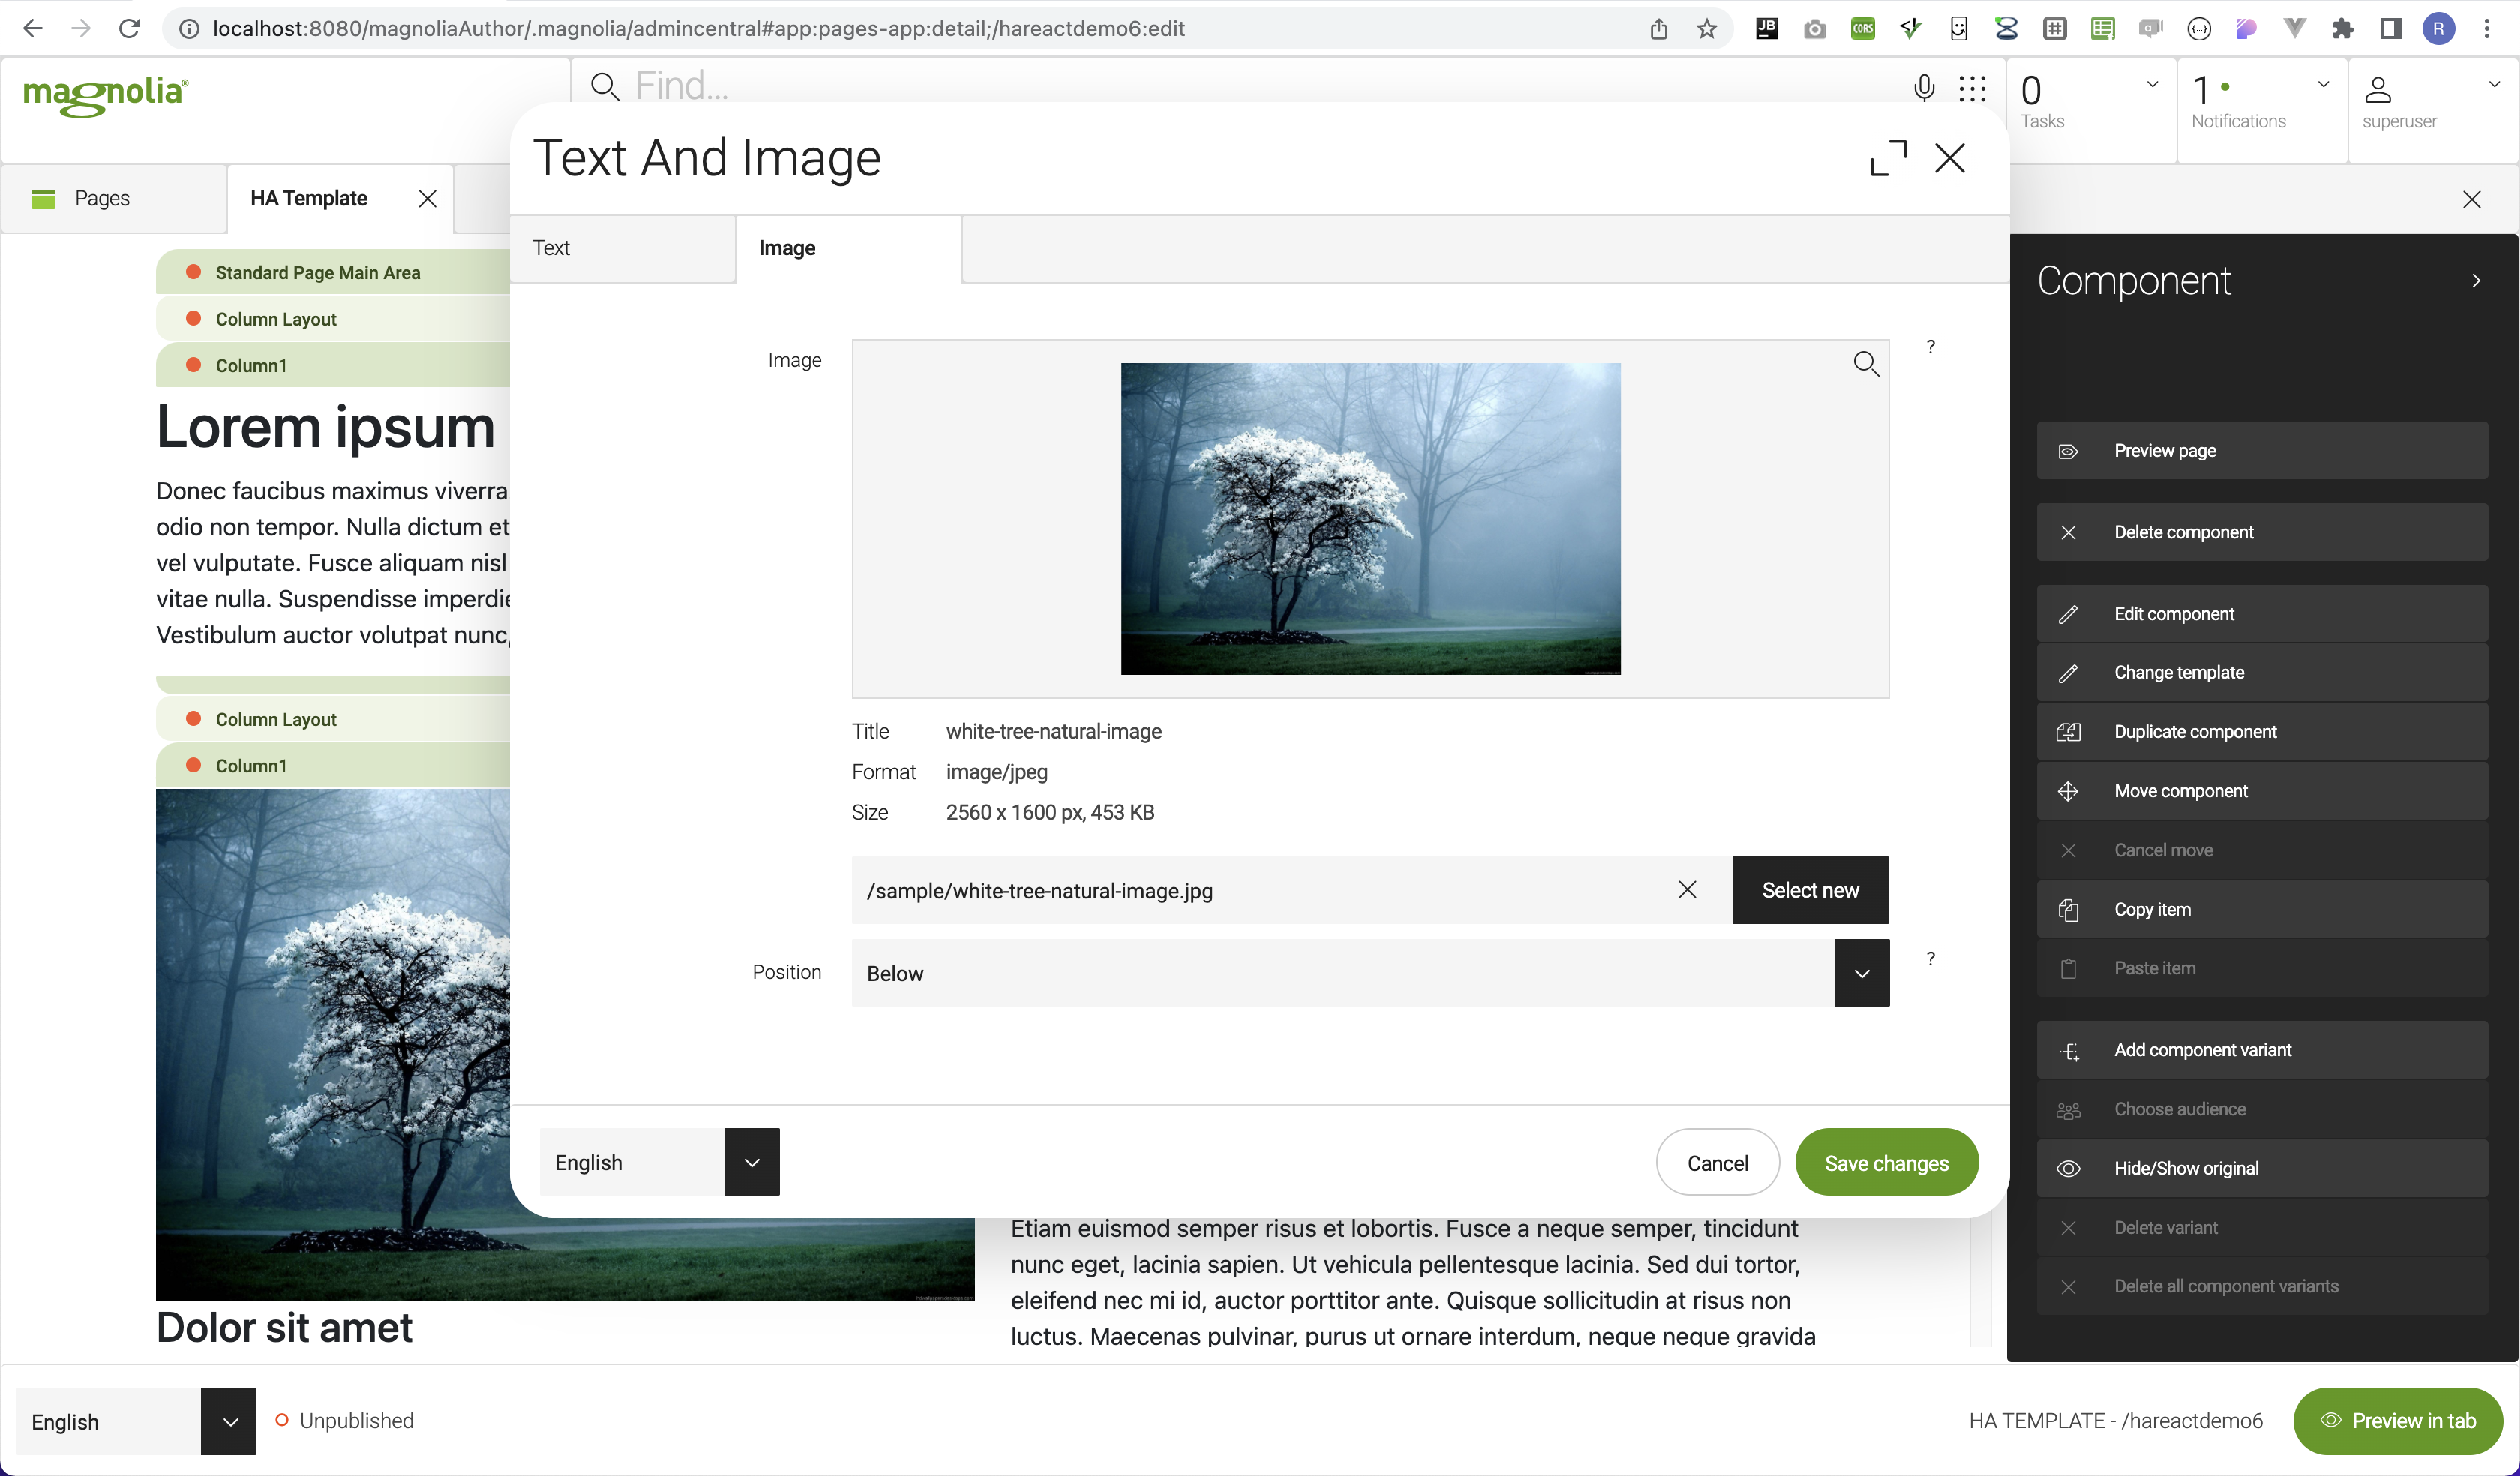 |
You can try to edit some component or add a new one to the page directly in the WYSIWYG Pages App editor.
Please use this page and components as a starting point (base) on which you are going to build your own components.
Extend the Headline component#
To extend the Headline component, edit the dialog definition of the component and edit the React code associated with it.
To learn more about using a component without a dialog, please refer to the Component without a Dialog Definition section in the documentation.
1. Edit the dialog definition of the component#
Open the Headline.yaml file in the components directory and add a new subtitle text field in the form properties.
label: Headlineform: properties: - name: title label: Title text $type: textField i18n: true - name: subtitle label: Subtitle text $type: textField i18n: trueSaved dialog definition of the component automatically synchronizes to the local Magnolia AdminCentral. The new dialog field is available when creating or editing the Headline component.
Edit the corresponding React code to render the Headline component with the Subtitle field.
Additionally, the Headline.model.ts file is regenerated to reflect the new field. The HA CLI is translating the YAML definition to the type-safe interface to use in the react components.
2. Edit the React code associated with the component#
Headline.tsx file defines rendering of the Headline component. Add rendering of the Subtitle field received in props.
import Model from "./Headline.model";
export default function Headline(props: Model) {   return <>           <h1>{props.title}</h1>           <h2>{props.subtitle}</h2>          </>}
Navigate to the local Magnolia AdminCentral to see the Subtitle rendered in the Headline component.
Create a new component#
There are three ways to create a new component.
In this example, we create a new component called TitleImage, which contains a title and an image. To create this new component, you can choose any of these three ways:
Using the c keyword in the HA CLI
In the HA CLI tool, while ha dev is running, press the c keyword. A new dialog in the terminal is displayed with the title Generate Code. Write the name of the new component (TitleImage). Click on ( ) Component to select the option to create a new component. Confirm the new component with the Create button.
You get an affirmative notification that the TitleImage component was created. You can check that a new folder called TitleImage/ was created in the components/ folder.
The Title field is already defined in the TitleImage.yaml file and in the TitleImage.tsx file. Add there a new field of type DAM link, called Image, according to the Extend the Headline component section of this documentation and Magnolia documentation.
Using the HA command
Execute ha generate component in the project root directory. Write the name of the new component when prompted (TitleImage).
After submitting, you get a confirmation message. You can check that a new folder called TitleImage/ is now in the components/ folder.
The Title field is already defined in the TitleImage.yaml file and in the TitleImage.tsx file. Add a new field of type DAM link, called Image, according to the Extend the Headline component section of this documentation and Magnolia documentation.
Creating files manually
Create a new folder in the components/ folder in your project. Give the folder the same name as the name of the new component you want to create (TitleImage).
Create a YAML file with the dialog definition inside the component folder. The dialog definition contains a field Title of type textField and a new field of type DAM link, called Image. Refer to the Extend the Headline component section of this documentation and Magnolia documentation.
Files with the extension .model.ts and .stories.js are automatically created from the TitleImage.yaml file.
Create an index.ts where you export your component. Then write your React code in the TitleImage.tsx file.
Generating component with HA CLI creates a standard react/next.js component.
Either way you choose to create the TitleImage component, the structure of the created folder should be as follows:
.├── components ├── TitleImage ├── index.ts ├── TitleImage.model.ts ├── TitleImage.stories.ts ├── TitleImage.tsx └── TitleImage.yamlYaml file with dialog definition:
label: TitleImageform: properties: - name: title label: Title $type: textField i18n: true - name: image label: Image $type: damLinkField
Example of the React code rendering the component in the TitleImage.tsx:
import Model, { TitleImageBuilder } from "./TitleImage.model";import { withMgnlProps } from "../WithMgnlProps/withMgnlProps";
const TitleImage = (props: Model) => {    return <section>        <h1>{props.title}</h1>        <img            style={{width:'100%'}}            src={(props.image.link.startsWith("http") ? props.image.link : process.env.NEXT_PUBLIC_MGNL_HOST + props.image.link)}            alt=""         />    </section>}
export default withMgnlProps(TitleImage, TitleImageBuilder);Make the new component available for editors#
To make the newly created component available for editors, we can use the --link option with the ha generate component command, or
add it manually to the Area definition in the page templates.
To add it manually head over to templates/pages/ folder and edit StandardPage.yaml file to point directly to the YAML file of the component:
label: Standard Page (ha-project)form: properties: - name: title label: Title $type: textField i18n: trueareas: main: title: Standard Page Main Area availableComponents: Headline: id: 'ha-project:components/Headline' TextImage: id: 'ha-project:components/TextImage/TextImage'
The TextImage component is now available in the Magnolia AdminCentral.
If we use ha generate component --link command, a list of template to choose from will be present,

from which we can select the template areas we want to add the component.
We can also write the template areas after the --link option:
ha generate component --link ColumnLayout/column1 StandardPage/main
Create a new App#
With HA CLI you can easily create a new Magnolia content app. Use a content app for storing and managing structured content. The Content type Model definition defines the content app and describes the properties of the stored items.
In this example, we create a new app called Tours. The app stores items (tours), and each tour has a title, image, and description.
There are two ways to create a new app:
Using the c keyword in the HA CLI
In the HA CLI tool, while ha dev is running, press the c keyword. A new dialog in the terminal is displayed with the title Generate Code. Write the name of the new app (Tours). Click on ( ) App to select the option to create a new app. Confirm the new component with the Create button.
You get an affirmative notification that the Tours app was created. You can check that there is a new folder Tours/ in the mgnl-apps/ folder.
Using the HA command
Execute ha generate app in the project root directory. Write a name of the new app when prompted (Tours).
After submitting you get a confirmation message that the app was created. You can check that a new folder called Tours/ was created in the mgnl-apps/ folder.
There are two files in the newly created folder mgnl-apps/Tours/:
- index.ts - contains the representation of the app's data structure and some query methods for managing the stored items
- model.yaml - contains the content app's data structure (content type model definition)
The model.yaml file already contains some data structures. Change it to the model with just title, image, and description.
model: properties: - name: title label: Tour title i18n: true - name: image type: asset label: Tour images multiple: true - name: description type: richText label: Tour description i18n: trueThe index.ts file is automatically updated after saving the YAML file.
The Tours app is now ready to use in Magnolia!
You might need to log out and log in to the Magnolia AdminCentral to use the app.
Create items in a content app#
Navigate to the local running Magnolia instance. In Apps, you can see the newly created App Tours.
Open the Tours app and add some new items. Notice that the dialog for the new item is based on the model defined in the model.yaml file.
Load and loop through the tours stored in Tours app#
Generate a new component to render items from the Tours app. Refer to the Create a new component part of this documentation.
Use the query method in index.ts for getting all the stored tours. Load the tours data into the new component and loop through them to render them.
import React, { useEffect, useState } from 'react';import Model, { TourListBuilder } from "./TourList.model";import Tours, { ToursModel } from "../../mgnl-apps/Tours"import { withMgnlProps } from "../WithMgnlProps/withMgnlProps";
const TourList = (props: Model) => {
    const [data, setData] = useState<Array<ToursModel>>([]);
    useEffect(() => {        Tours.listAll().then(result => {            setData(result)        });    }, []);
    return <section>        <h1 style={{textAlign:'center'}}>{props.title}</h1>
        {data && data.map(tour =>            <div key={tour.id}>                <h2>{tour.title}</h2>                {                    tour.image.map(img =>                        <img                            key={img.id}                            src={(img.link.startsWith("http") ? img.link : process.env.NEXT_PUBLIC_MGNL_HOST + img.link)}                            alt=""                        />)                }                <div dangerouslySetInnerHTML={{ __html: tour.description }}></div>            </div>        )}    </section>}
export default withMgnlProps(TourList, TourListBuilder);Generate a new Page Template#
When creating a new page inside the Pages app in the Magnolia AdminCentral, you have to select the Page template. The page template describes the page, as well as the area and available components.
You can create a custom Page template. There are two ways to create a new page template with the HA CLI:
Using the c keyword in the HA CLI
In the HA CLI tool, while ha dev is running, press the c keyword. A new dialog in the terminal is displayed with the title Generate Code. Write the name of the new page template. Click on ( ) Page to select the option to create a new page template. Confirm the new page template with the Create button.
You get an affirmative notification that the template was created. You can check that the new page template folder is in the templates/pages/ folder.
Using the HA command
Execute ha generate page in the project root directory. Write the name of the new page template when prompted.
After submitting, you get a confirmation message that the template was created. You can check that the new page template folder is in the templates/pages/ folder.
Edit the definition of the new Page template in the created YAML file. Define what a content author can add to the specific areas in the page template.